Projects
Medplum Projects are the primary mechanism of access control. Projects are isolated containers of FHIR resources that are administered separately, and which can have different settings.
A common requirement for development teams is to have a separate Project , with non-protected data, for testing and debugging, before deploying workflow changes to production. A common Medplum usage pattern is to create a "development", "staging", and "production" Project.
Isolation Model
Medplum Projects create a hard boundary between FHIR resources, and resources within one project cannot reference resources in another.
Additionally, Projects each have their own user administration. A user can be a member of one, or multiple Projects, with different privileges in each. See our User Administration Guide for more information.
Projects can each be configured with own global settings and secrets (see Project Settings below).
Project Linking
Sometimes it is useful to share a common set of resources with multiple projects.
Medplum super administrators can create shared projects and link them into multiple target projects. Users of those target projects get a read-only view of all resources in the shared projects.
When a project is linked, all resources from the linked project appear alongside the target project's resources in search results and queries.
Common Use Cases
- Sharing large
CodeSystemsandValueSetsfor standard terminology. For example the Medplum UMLS integration: ICD-10, RxNORM, LOINC, SNOMED - Sharing FHIR profiles (
StructureDefinitionresources) for a specific clinical domain - Sharing common data sets (e.g. Medplum Payor Directory, Medplum Lab Directory)
- Sharing Bots
Certain Medplum features, including first-party integrations, require access to shared sets of resources, such as CodeSystem, ValueSet, and Organization.
Setting Up a Shared Project
Configuring project linking is a two-step process that requires super-admin access:
Step 1: Create the shared project
Create a new Project that will hold the shared resources. This project will not be used directly by end users — it exists solely as a container for shared content.
Always set exportedResourceType on the shared project to restrict which resource types are visible to linked projects. If exportedResourceType is omitted, all resource types in the shared project are accessible.
{
  "resourceType": "Project",
  "name": "Shared Terminology",
  "exportedResourceType": ["CodeSystem", "ValueSet"]
}
Step 2: Link the shared project into target projects
Add a link entry to each target Project that should have access to the shared resources. This must be done by a super admin.
{
  "resourceType": "Project",
  "name": "My App - Production",
  "link": [
    {
      "project": {
        "reference": "Project/<shared-project-id>"
      }
    }
  ]
}
A project can link to multiple shared projects by adding multiple entries to the link array.
Access Control for Linked Projects
- Read-only: Users in a target project can read and search resources from linked projects, but cannot create, update, or delete them.
- Transparent: Linked resources appear seamlessly in search results alongside local resources — no special handling is required in queries.
- Scoped by
exportedResourceType: If the shared project specifiesexportedResourceType, only those resource types are visible to linked projects. IfexportedResourceTypeis empty or omitted, all resource types are exported. - Project-admin resources are excluded: Administrative resource types (e.g.,
ProjectMembership,ClientApplication) from a linked project are never visible to users in the target project, regardless ofexportedResourceType.
Viewing Linked Projects
You can see linked Projects in the Medplum App by:
- Navigating to app.medplum.com/Project
- Selecting your Project
- Selecting the "Details" tab
Distinguishing Local vs. Linked Resources
Because linked resources are returned alongside local resources in search results, you may need to tell them apart. The _compartment search parameter filters results to resources that belong to a specific project compartment:
// Search only within the current project (exclude linked projects)
const localOnly = await medplum.searchResources('ValueSet', {
  _compartment: 'Project/<current-project-id>',
});

// Search only within the shared project
const sharedOnly = await medplum.searchResources('ValueSet', {
  _compartment: 'Project/<shared-project-id>',
});
You can also inspect resource.meta.project on any returned resource to determine which project it belongs to.
Best Practices
exportedResourceTypeAlways specify exportedResourceType on shared projects. If this field is omitted, every resource type in the shared project is visible to all linked projects — including any resource types added in the future. This is an easy source of unintended data exposure.
Define the exact set of resource types that linked projects need and nothing more:
{
  "resourceType": "Project",
  "name": "Shared Terminology",
  "exportedResourceType": ["CodeSystem", "ValueSet"]
}
If you later add a new resource type to the shared project (e.g. Organization for a payor directory), update exportedResourceType explicitly rather than removing the restriction.
- Principle of least privilege: treat
exportedResourceTypethe same way you would treat access policy resource restrictions — grant access only to what is needed, and review the list whenever the shared project's contents change. - Separate shared projects by domain: rather than one large shared project with a broad
exportedResourceTypelist, consider splitting into focused projects (e.g. one for terminology, one for profiles). This makes it easier to link only the relevant project into each target and limits blast radius if a project is misconfigured. - Populate shared projects with read-only reference data (terminology, profiles, directories) rather than patient or clinical data.
- Be aware that queries like
medplum.searchResources()will return the first matching resource across all accessible projects (both local and linked). Use_compartmentif you need deterministic project-scoped results.
The SuperAdmin Project
The main exception to this isolation model is the "Super Admin" project. This is a special project that provides a global view over all the resources on the Medplum server. See our SuperAdmin Guide for more information.
The SuperAdmin has the following privileges:
- Access to protected resources
- Ability to overwrite the
idof a resource, which is normally server generated - Ability to overwrite fields in the
metaelement of resources such asauthor,lastUpdated, etc.
Logging into the Super Admin project allows for potentially dangerous operations and is only intended for server administrators
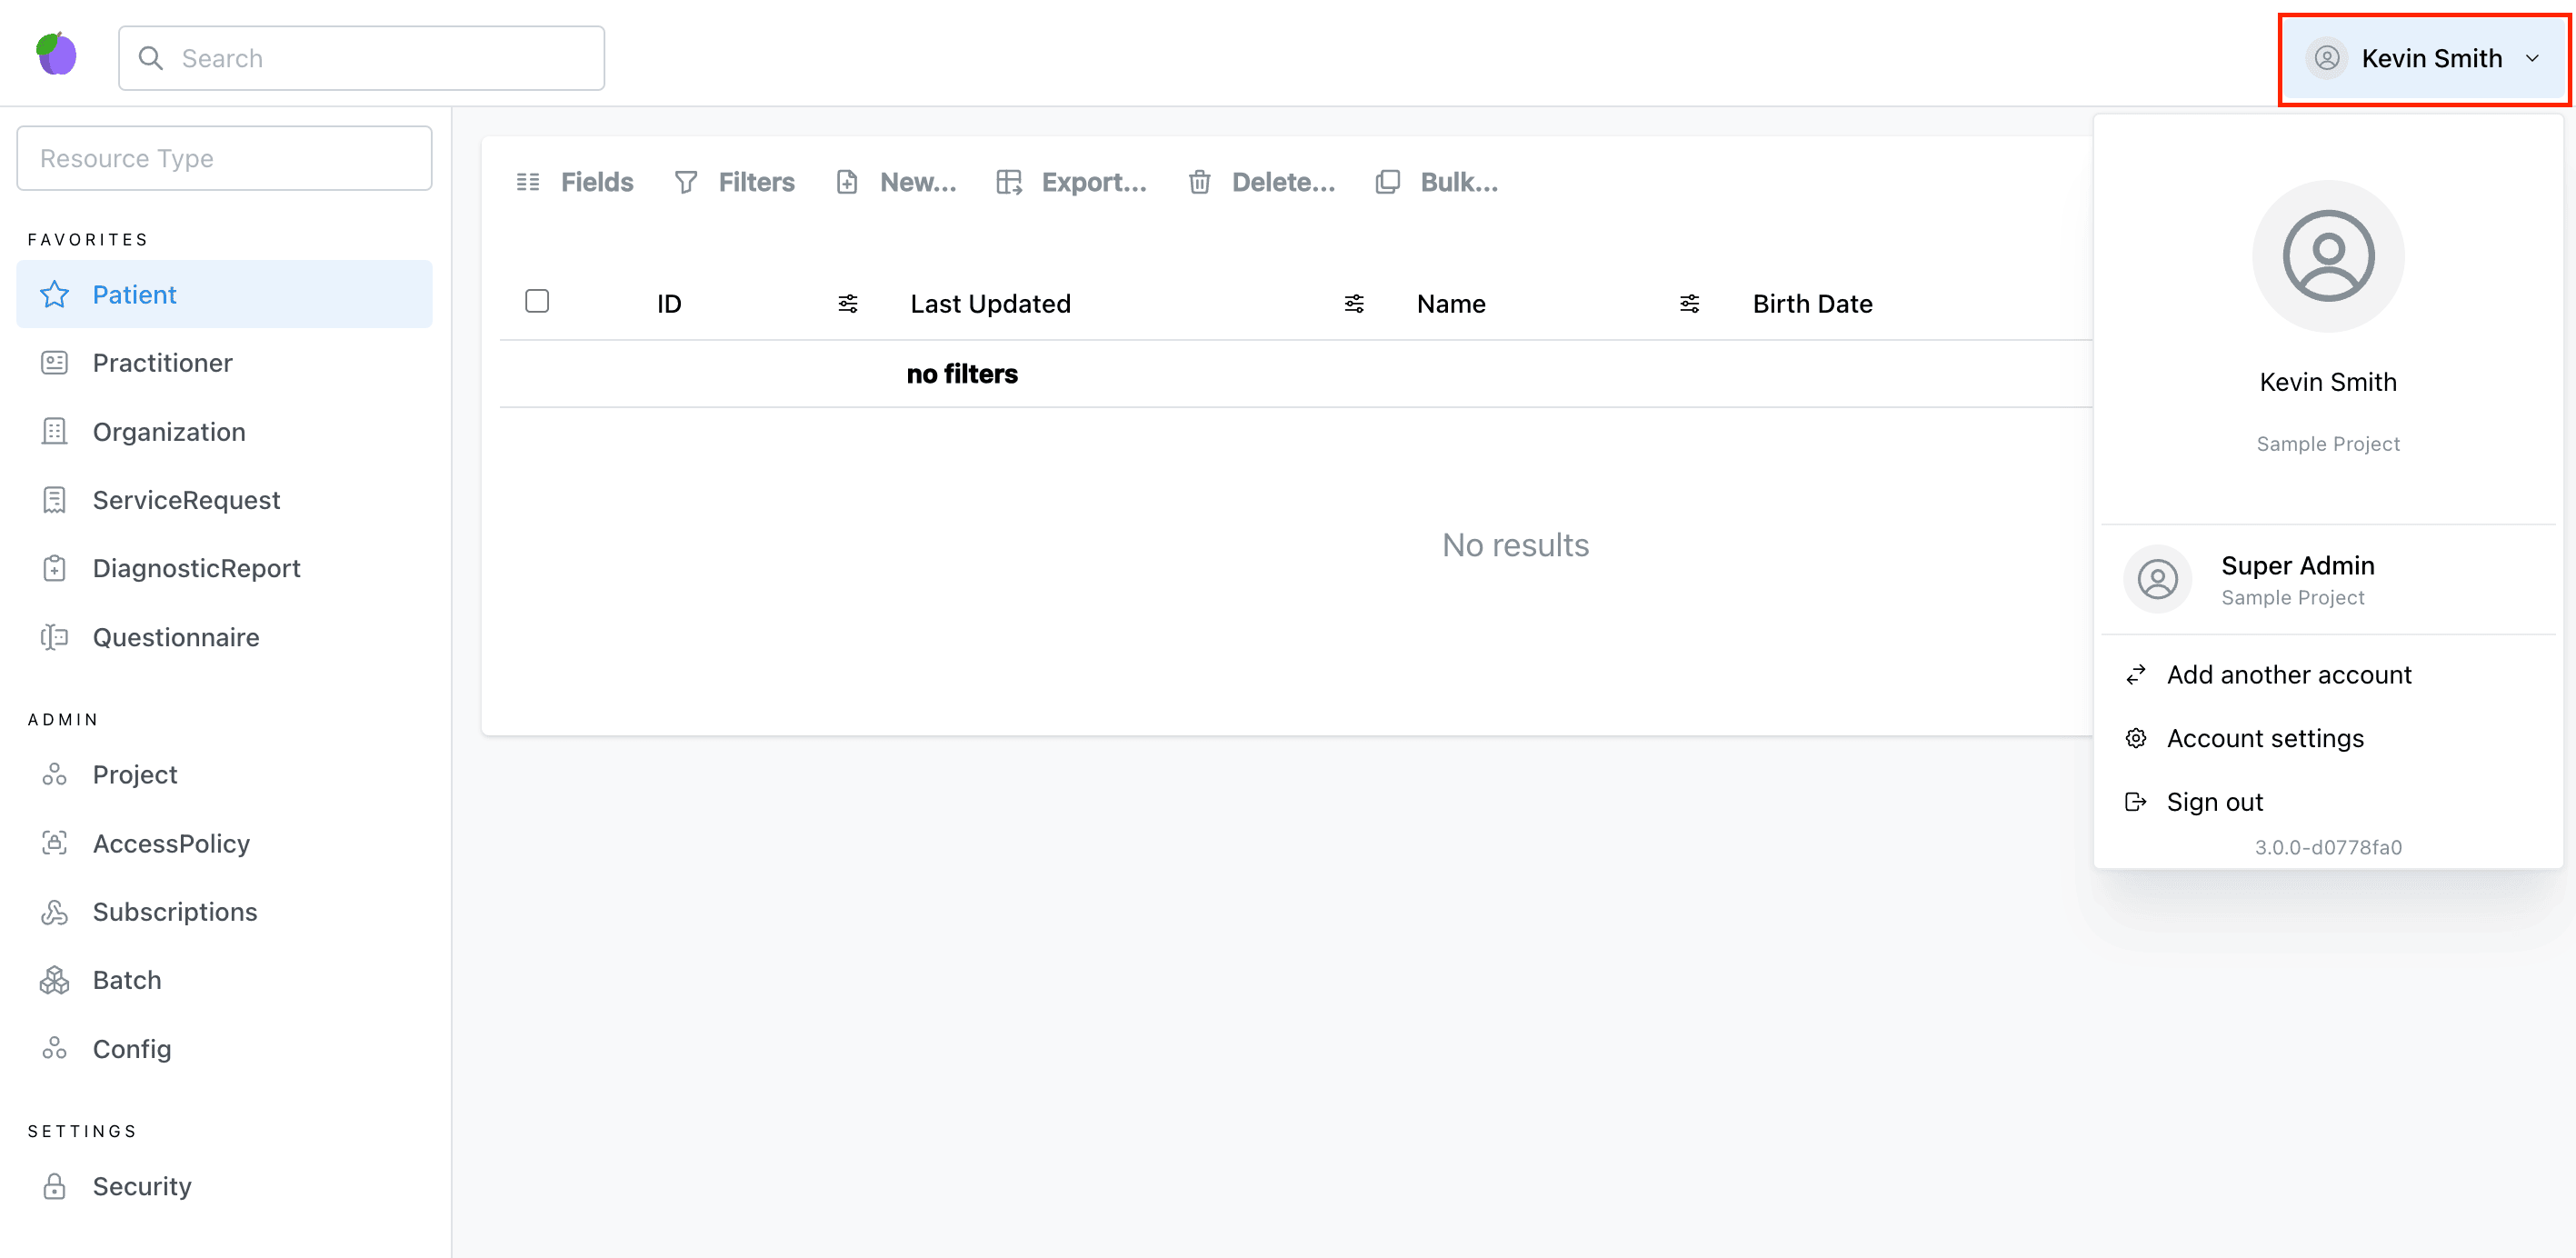
To switch to the SuperAdmin project or check if you are already in it, you can use the profile selector.
Creating a Project
Medplum App
- Visit the https://app.medplum.com/register or visit https://app.medplum.com/signin and click the "Register" link
- Sign in with an existing user, or enter the details for a new user account
- Enter your project name
Project Settings
Project-level settings can be used to configure server behavior for different groups of users. A subset of the available settings related to authentication and access control are shown below; see the full Project Settings documentation for more information.
| Setting | Description | Default |
|---|---|---|
superAdmin | Whether this project is the super administrator project (see above). | false |
features | A list of optional features that are enabled for the project. Values related to access control include:
| |
defaultPatientAccessPolicy | The default AccessPolicy applied to all Patient Users invited to this Project. This is required to enable open patient registration. |
Default Profiles
The defaultProfile setting automatically applies FHIR profiles to resources that do not specify a profile in meta.profile. This is useful for enforcing consistent validation and clinical data quality across a project without requiring every resource creation call to include profile references.
How It Works
When a resource is created or updated without a meta.profile field, the server checks the project's defaultProfile configuration. If a matching entry exists for the resource type, the server automatically adds the configured profile(s) to the resource's meta.profile array before validation.
If the resource already has a meta.profile field, default profiles are not applied — the resource's explicit profile is preserved.
Configuration
Set defaultProfile on a Project resource as an array of objects, each specifying a resourceType and the profile URLs to apply:
{
  "resourceType": "Project",
  "name": "My Clinical App",
  "defaultProfile": [
    {
      "resourceType": "Observation",
      "profile": [
        "http://hl7.org/fhir/StructureDefinition/vitalsigns"
      ]
    },
    {
      "resourceType": "Patient",
      "profile": [
        "http://hl7.org/fhir/us/core/StructureDefinition/us-core-patient"
      ]
    }
  ]
}
Example: Enforcing Vital Signs Validation
With the configuration above, any Observation created without an explicit profile will automatically receive the Vital Signs profile. This means the server will validate that the observation includes required elements like subject, category, and the correct value types:
// This observation will automatically get the vital-signs profile applied
const observation = await medplum.createResource({
  resourceType: 'Observation',
  status: 'final',
  code: { text: 'Heart rate' },
  effectiveDateTime: '2024-01-01T00:00:00Z',
  valueInteger: 72,
  // No meta.profile specified — defaultProfile kicks in
});

// observation.meta.profile will be:
// ["http://hl7.org/fhir/StructureDefinition/vitalsigns"]
If the observation is missing required fields (e.g., subject), the server will reject it with a validation error — even though no profile was explicitly specified.
Project Secrets
Each Project can store a set of key/value pairs to store configuration values, such as API keys, needed by Bots.
See Bot Secrets for more information.
Cloning and Expunging Projects
Self-hosted users have two advanced project administration operations available to them:
$clone- Make a copy of an existingProjectand all its resources.$expunge- Perform a "hard delete" ofProjectand all its resources. This will remove all the related resource rows from the database.
For more information, refer to the Super Admin Project Management guide