Invite a user
This guide explains how to invite another user to your Medplum project.
- Open the Medplum app in your browser: https://app.medplum.com/. If you don't have an account yet, see the Register page.
- Navigate to the Project Admin page at https://app.medplum.com/admin/project.
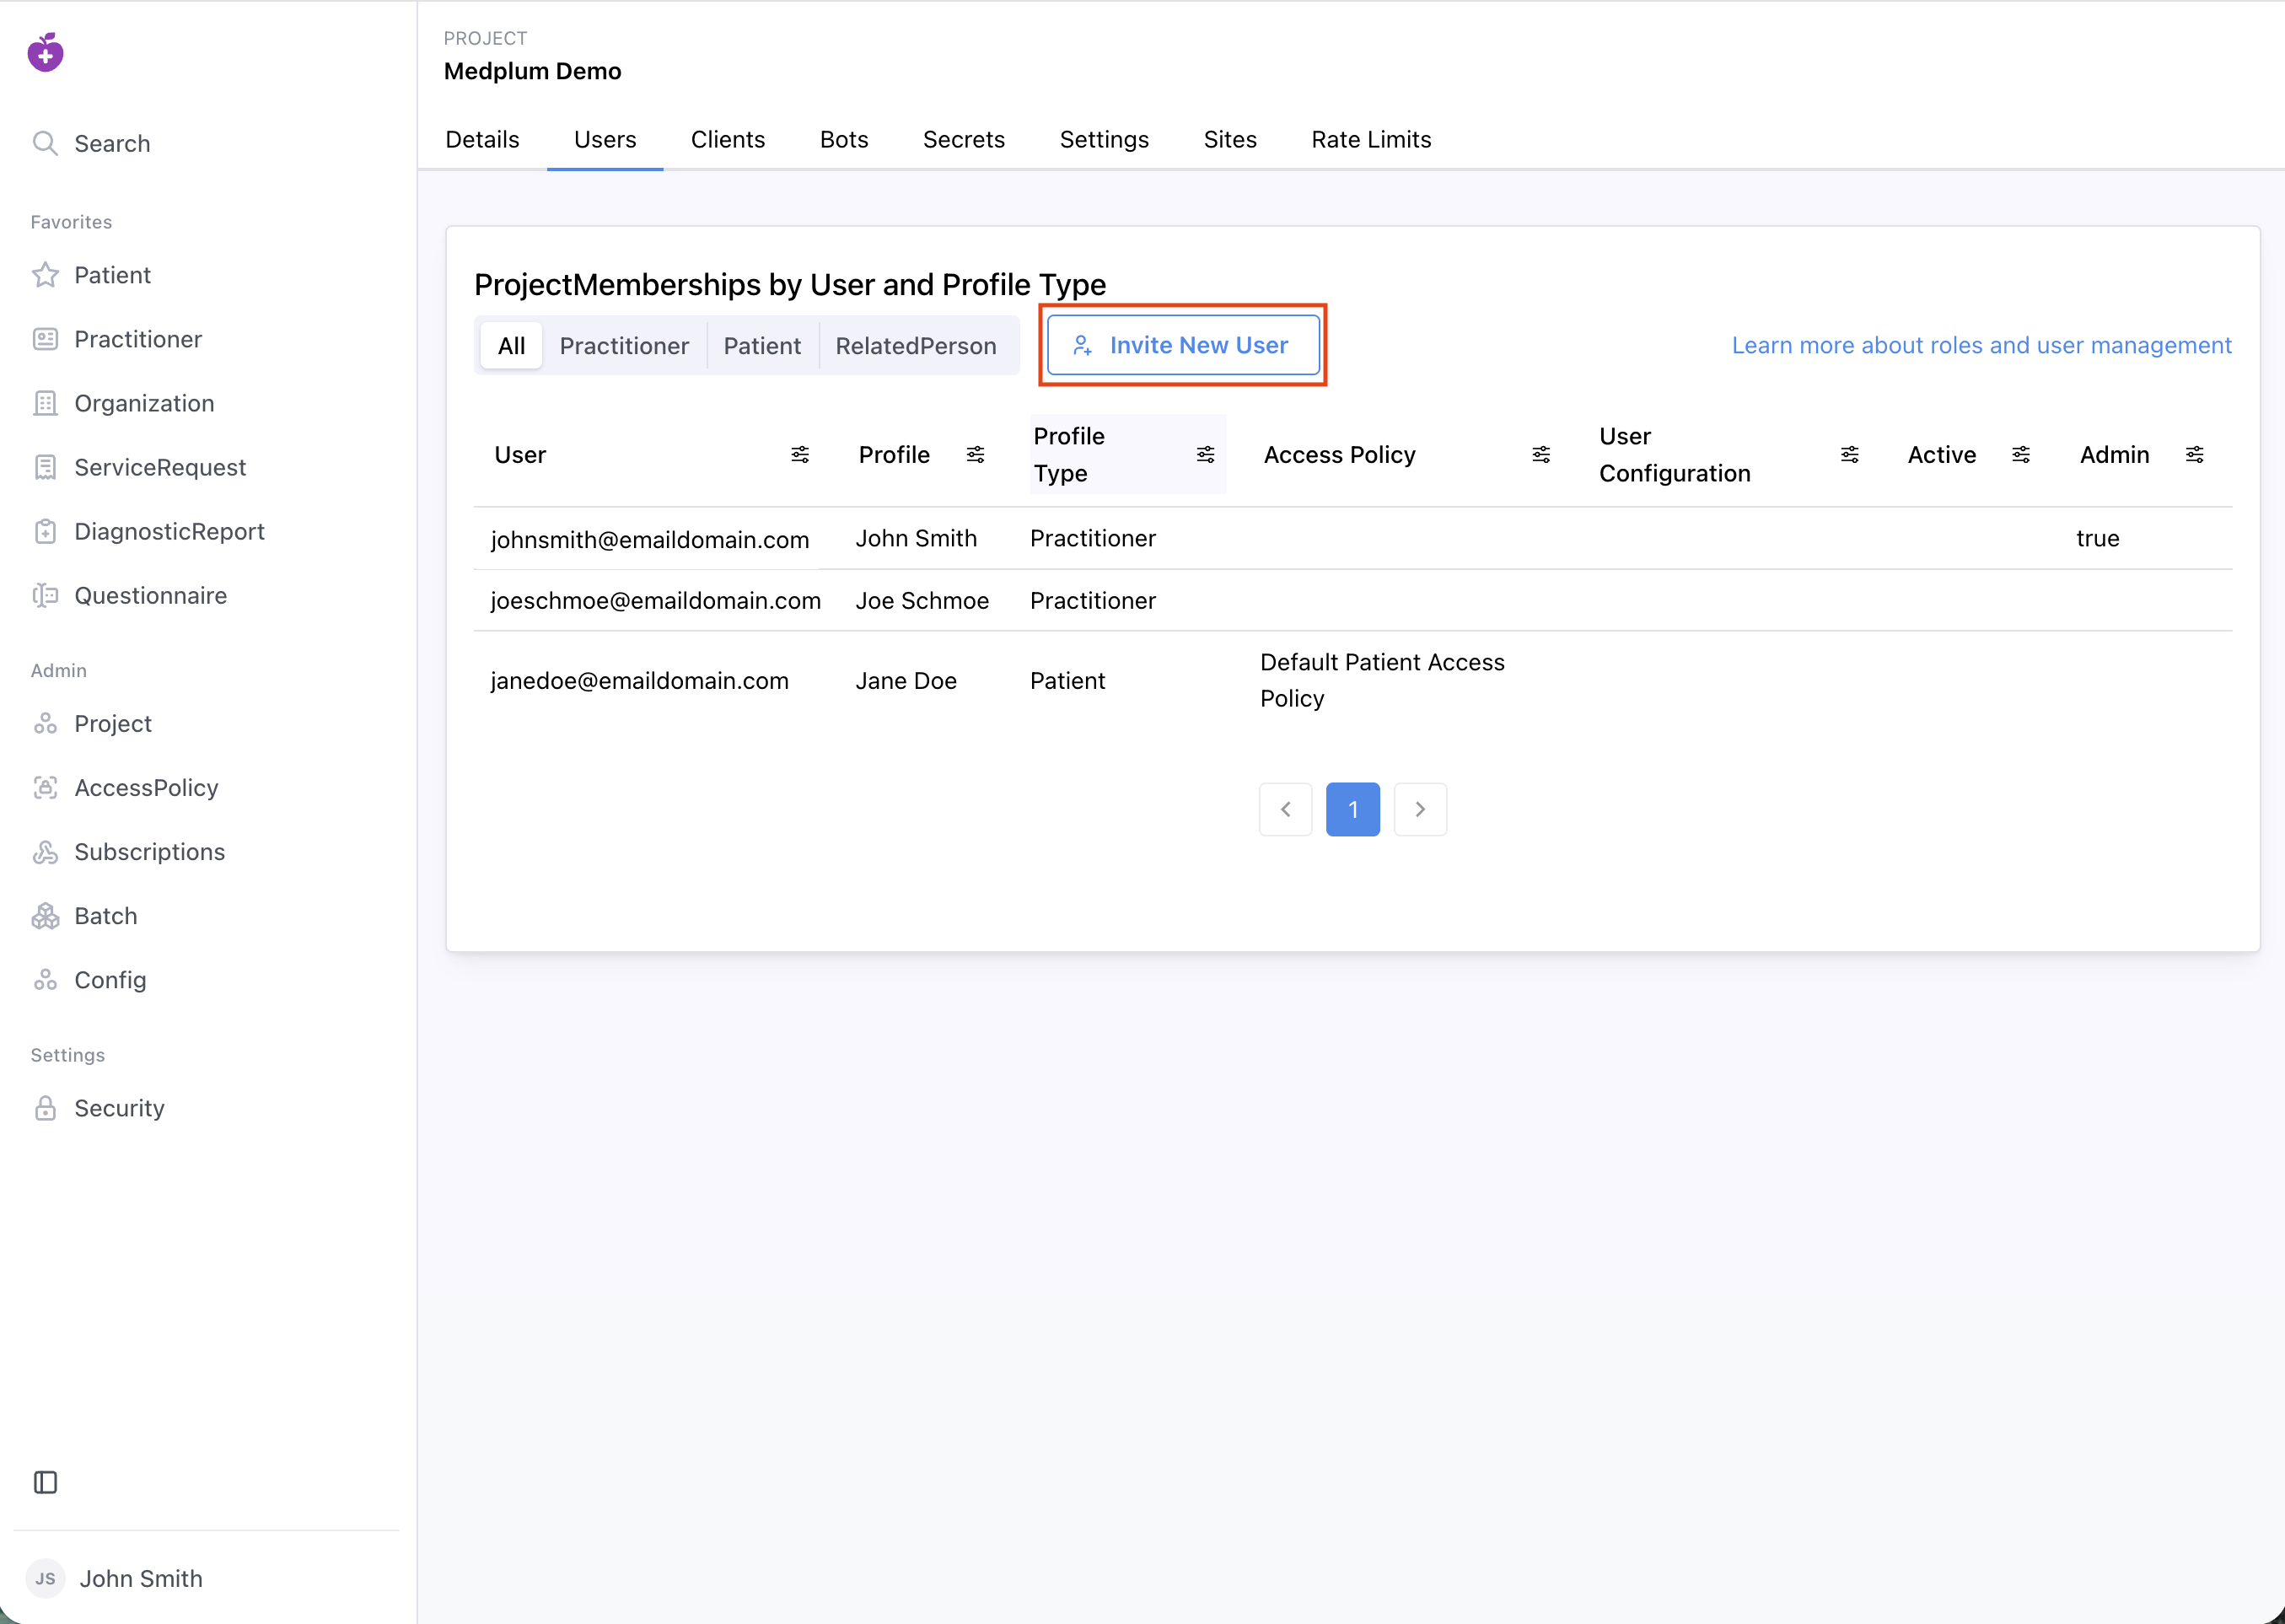
- Click on the "Users" tab.
- Click on the "Invite new user" link at the bottom of the screen.

- Select the new user's Role. A user's role defines which FHIR resource type represents the user in this project, and can take one of the following values:
- Practitioner: This is the most common profile type. Applies to any user who is involved in administering care, including physicians, technicians, engineers, IT staff, and customer service representatives.
- Patient: This is the profile for any users who are the beneficiary of care.
- RelatedPerson: This profile represents users who are related to a patient and need access to some of their clinical data, but who don't benefit directly from care. This is typically used for parents/guardians for pediatric patients, or spouses of patients who aren't being treated themselves.
- Fill in the user details such as first name, last name, and email address.
- For advanced security features, you can configure an AccessPolicy. An AccessPolicy allows you to specify which resource types users can read and write. For Patient users, if no access policy is selected here, the project's
defaultPatientAccessPolicywill be applied automatically. See Project Settings for how to configure that project-level default. - By default, Medplum will send a welcome email to the new user. You can toggle the "Send email" checkbox if you do not want to send an email. (You may also be interested in Custom Emails).
- You can optionally add the new user as a Project Administrator by checking the "Admin" checkbox. See the User Admin Guide for more details and how to do this using the API.
- By default, Practitioners are created as server-scoped users, meaning their
Userresource exists at the server level and can be added to multiple Medplum projects (useful for developers and administrators). Checking "Project Scoped" creates a project-scoped user whoseUserresource is tied exclusively to this project. Project-scoped users are recommended for real practicing clinicians and patients who will only interact with a single production project. Note that project-scoped Practitioners must be invited separately into each project they need access to. For more details and implications (such as custom email flows and password resets), see Project vs Server Scoped Users. - To require the new user to enroll in Multi-Factor Authentication (MFA), check the "MFA Required" checkbox. When enabled, an MFA secret is automatically generated for the user. On their first login they will be prompted to configure an authenticator app (e.g. Google Authenticator, Microsoft Authenticator, or Authy) before gaining access. See Multi-Factor Authentication for more details.
- Click "Invite" when the user details are ready.
When you click "Invite", the system will send an email to the user with instructions how to activate their new account.